Adding New Counters
Activating New Records Management Period in Amphora
To start a new records management period in Amphora:
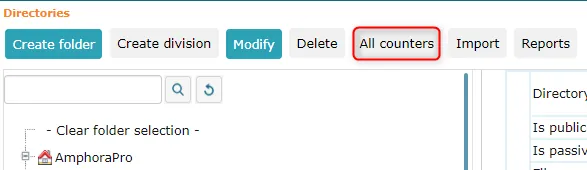
- Open Admin->Directories and in the opened view click the All counters button.
 2. In the opened form, select the ending year number from the dropdown menu. Additionally, you can also select an institution (if the user has rights to more than 1 institution). The system displays all counters where the Active until field contains the past (previous) records management period.
 - Mark and copy counters one page at a time (make a 'checkmark', click Copy for new period, open 2024 again, open the next page, make a 'checkmark', copy, etc.).
The system copies the counters and adds 1 year to all year numbers and resets counter values (i.e., 01.01.2024 becomes 01.01.2025; 12-2/54/2024 -> 12-2/0/2025).
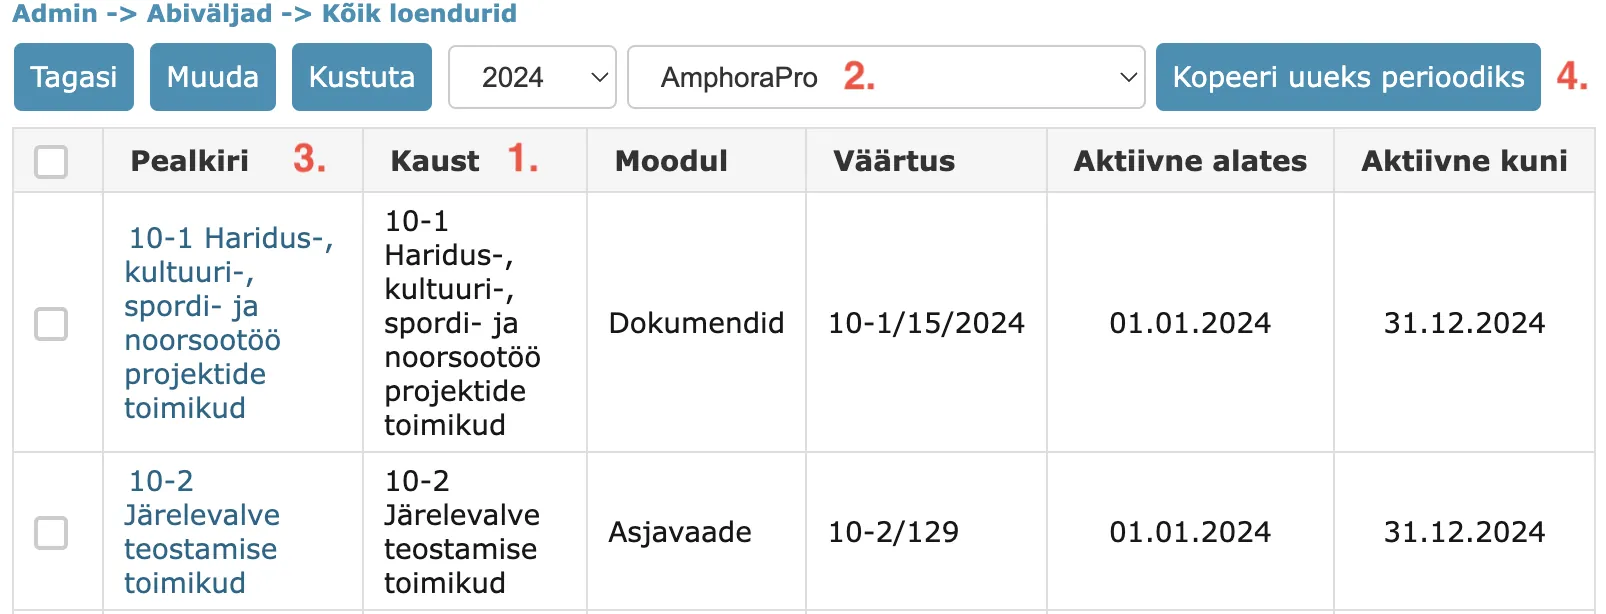 NB! For correspondence counters, dates must only be on one top-level counter – the parent counter that gives values to sub-counters (where the value box is empty). Correspondence sub-counters don't need to be copied, i.e., they don't need to fill Active from and Active until dates. This may not apply to all correspondence counters.
Generally, the correspondence general counter is located on the unit – building icon name in the catalog tree.
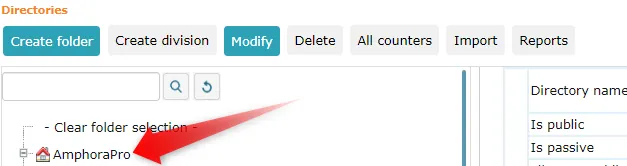 If dates are missing from counters or are not correct, they can be added/changed from the counter edit view: Open Admin->Directories.
Select a catalog where dates are undefined, click the "Edit" button. In the opened view, find the Counters panel and click the Edit link, which opens the counter edit view.
Enter dates Active from – active until (for the new records management period, for example, 01.01.2025 – 31.12.2025) and click Save in the counter view. Then click the Save button.
A more detailed guide on changing/adding counters is located HERE.
Last modified: 09 October 2026, 15:35:29